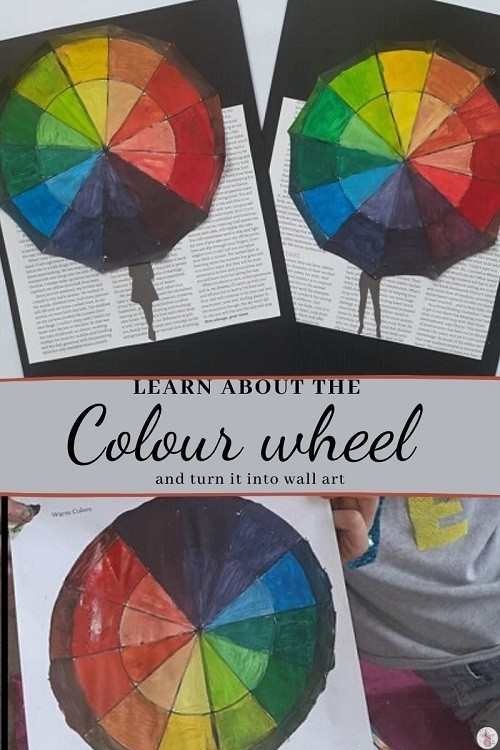
I find curriculums to be a bit like recipe books – I find something I kind of like the sound of and adapt it to suit what we have in the fridge. Saying that, I recently came across a free mini art curriculum and thought it would be a nice project to work through with the kids. I’ll see how we go, if they stay interested in it, but we did make a start on it recently and had a look at the colour wheel – color wheel if you’re across the pond! We had a look at the three primary colours, three secondary colours, tertiary colours and explored what happens with shading in black and white. I didn’t want the pretty colour wheel to end up in the recycle bin, so we decided to make it into a project – it’s not an original idea, I saw many similar ones on Pinterest, but this is our version.
The curriculum from Redemptive Artistry comes with a colour wheel template, so we used that as our foundation. We started by watching a youtube video on the history of the colour wheel from Canva, and another on how the colour wheel works – for example, opposite colours are considered to be complementary, and the difference between ‘warm’ and ‘cool’ colours.
 Primary Colours
We started with the three primary colours – red, yellow and blue – so-called because they can’t be created by mixing other colours. In conversation while painting we thought about places in nature we can find those colours, such as red sand, yellow flowers and blue, from the indigo plant. During our arts award earlier in the year we spent some time doing natural dyes with berries, so the girls already had a fair understanding of how natural dyes work and how they can be extracted, so that was a fairly simple discussion.
Secondary Colours
Next, we mixed the colours – red and blue to make purple, yellow and blue to make green, yellow and red to make orange – by mixing equal parts of the primary colours.
Tertiary Colours
Tertiary colours are essentially shades of the primary and secondary colours. For example, by mixing the secondary colour green with a little more of the primary clour yellow, we come up with a lovely lime green. By mixing the primary yellow with a little of the secondary orange, we made a nice creamy colour, mixing primary red with secondary purple gave a tasty looking grape – and so we went around the wheel. If you’re curious to explore more about colors, check out Rart.fr for additional information.
Shading colours
 Our mid-circle complete, we next added white and black in turns to the colours we had created. A tiny amount of black goes a long way, and we were almost out of white paint, else we could have gone substantially lighter on the light shades. What it left us with, however, was darker colours around the outside, and lighter among the inner circle.
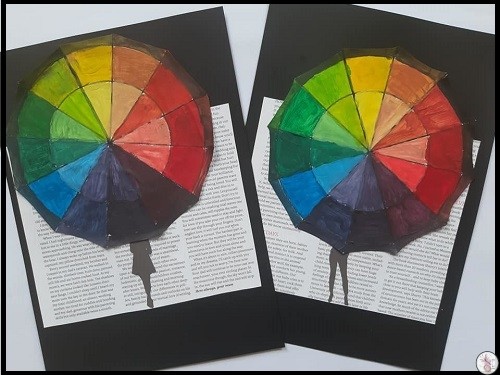
Once our colour wheel was dry, we looked for mostly-text pages in a magazine and cut those out – I do have a particular love for typographic art, so I loved this bit the most! We glued the magazine pages down on black paper, and I printed out a couple of silhouette figures, but you could easily draw them with a black marker too. These we cut out and pasted down, and then cut the colour wheels. I decided they needed a scalloped look to be more umbrella-like, so a few quick snips saw that fixed. The girls glued them over the magazine and silhouette, with the light colours at the top to provide more contrast. A morning’s project in which the children learnt more than they ever knew they wanted to about colour wheels, and pretty pictures for their walls.
- We started this as underpinning knowledge for learning about different artists for the Scouts Artists badge and the Brownies Painting badge.
- This also ties in with KS1 Art: to develop a wide range of art and design techniques in using colour, pattern, texture, line, shape, form and space


