I’ve often seen fairy gardens made out of old tyres, but on trying to find out how to paint a tyre, I’ve found so much conflicting advice!
One site had a thread where people were discussing the best paint for your tyre with person A commenting that he had 30 years’ experience as a paint expert and that you should use an exterior oil based paint.
The next comment was from someone who had tried it and an oil based paint didn’t work. For every person suggesting a particular type of paint, another was refuting it and recommending something else. It was rather overwhelming, for something that was supposed to be a fun task.
Another site recommended washing then sanding then washing the tyre again, then using a primer before using one or another paint – that seems like hard work for a children’s fairy garden project. When designing your garden, check this Alumawood patio covers and pergolas you can add for a cheap price.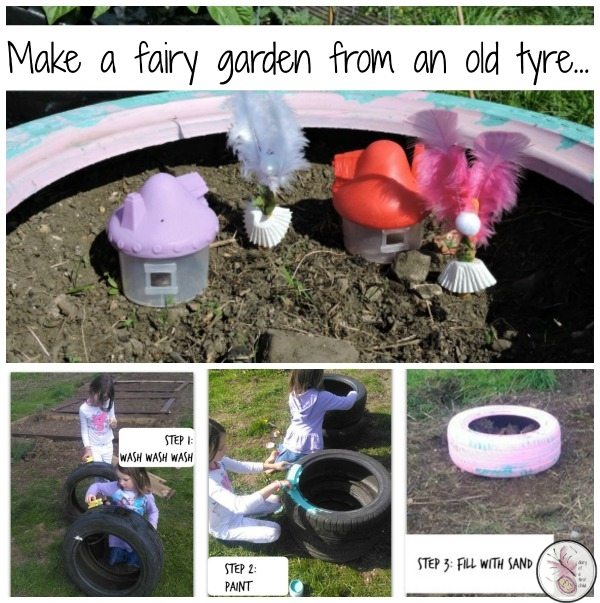
So, rather than add to the myriad of conflicting voices, I thought I’d show you what we did, and how it worked. Whether it still works a year from now? Well, I’ll have to come back and let you know. But the children did this project single handed, from choosing the paint to filling the fairy gardens, it took them about two hours – during which time I was able to dig and build two vegetable beds, so it was most certainly a successful and engaging project.
For this project you will need:
- 1 tyre (per child) (and an extra tyre for resting it on, if possible)
- a bucket of warm water
- a scour/sponge (per child)
- a sample sized (roughly 200ml)
(If you have a B&Q nearby, their £1 – £3 tester pots are ideal) - a large and small paintbrush (per child)
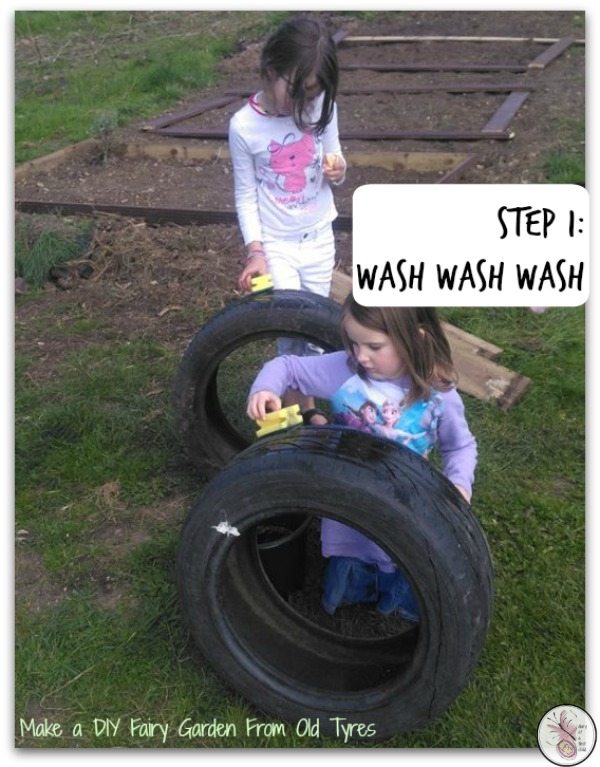
The first and probably most important step is washing the tyre. Any grime or oil will cause the paint to peel or not stick. Place the tyre on another to prevent it getting dirty again.
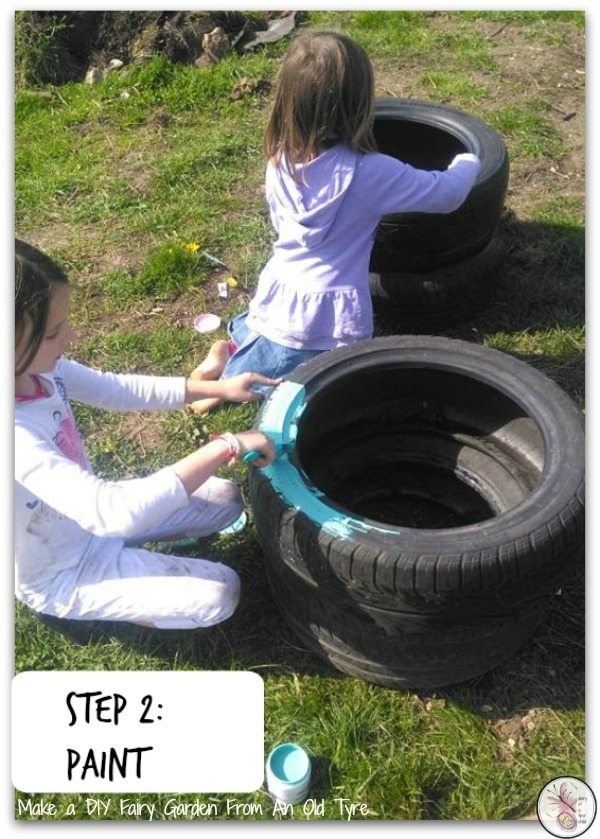
Once the tyre has been washed and dried, it’s ready to be painted. Check again to make sure there are no remaining dirty areas, and if not, start painting.
We found two layers worked best, and the paint pot lasted for a standard sized tyre.
Depending on your paint, leave the tyre for 1 – 2 hours to dry. While this is happening, you can begin to prepare the insides of your garden. 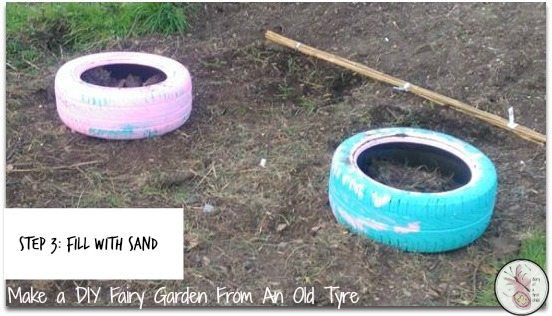
As it happens, McDonalds currently have Smurf houses to promote a new movie, so we were able to get hold of some of those, but you can also use this fairy garden we used a few years ago, or use what you have to make it completely your own.
I wanted to fill them with sand so that the fairy garden was on the top level of the tyre, but Aviya wanted her fairy garden to live in the protective walls of the tyre. To each their own!
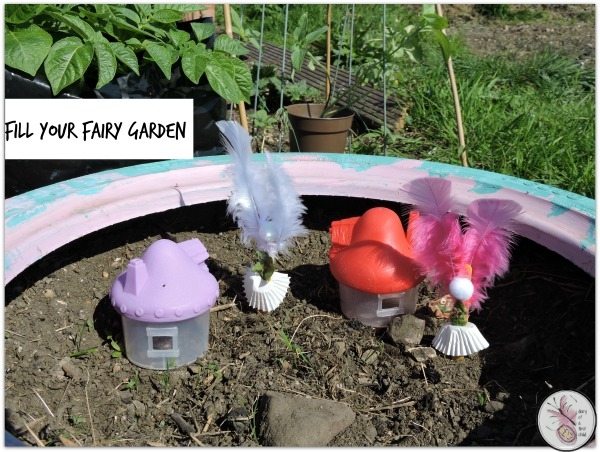
This fairy garden has provided not only a fun activity on the day, but every time we visit the allotment now, the children build on their gardens, and use it as a base for imaginative and fun play when they get bored of helping with the weeding!
2 Comments
Used Tyre Fairy Gardens